[ Published on -
Installing Apache Ant in Flash Builder is not as intuitive as it could be, especially if you are novice to Flash Builder and Eclipse platform, you can easily find yourself stuck in ded end.
So here is a small step by step tutorial.
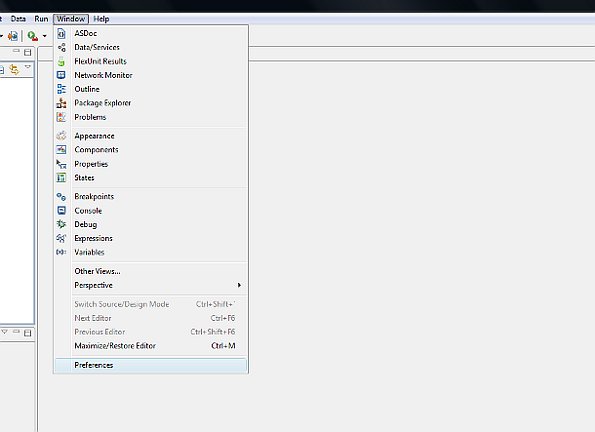
1. First go to: Window-> Preferences -> Install/Update -> Available Software Sites
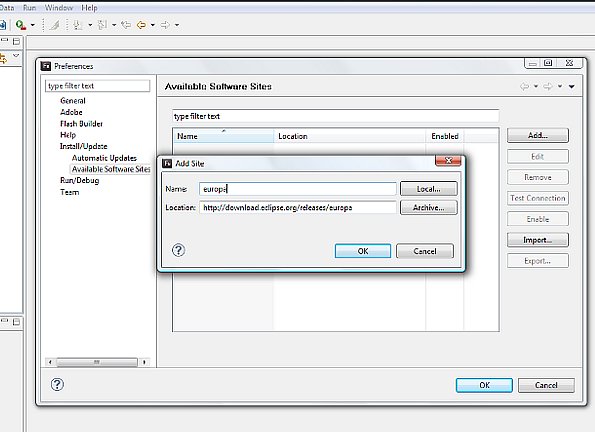
2. If you dont see any link, click on button add. Popup will open. To "Name" text field insert whatever you like for example "europa" and in the "Location" text field, insert: http://download.eclipse.org/releases/europa . Click "OK" to add link to "Available Software Sites".
2a. Someone already can have this link inserted but disabled, so press "Enable" button to enable link.
3. Pres "OK" to close the "Preferences" window.
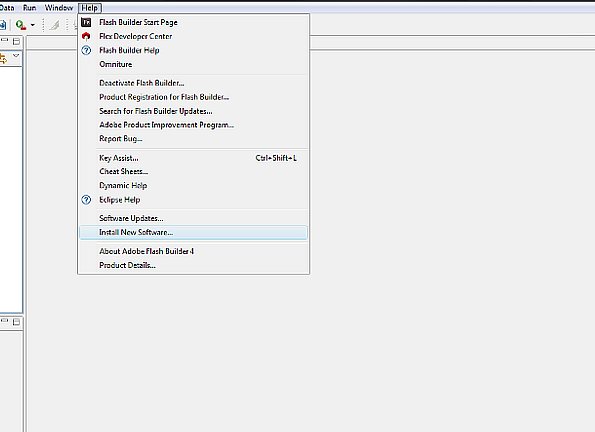
4. Now from Flash Builder menu go to "Help" -> "Install New Software...". (on windows Vista you'll have to run eclipse under Administration account to be able to install new software. To run Flash Builder as administrator, just simple right click on Flash Builder icon and from menu chose "Run as administrator").
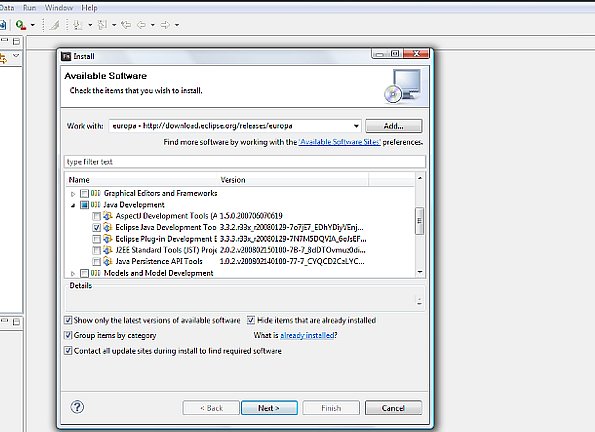
5. In drop down box "work with:" select url you just enabled in step 2.
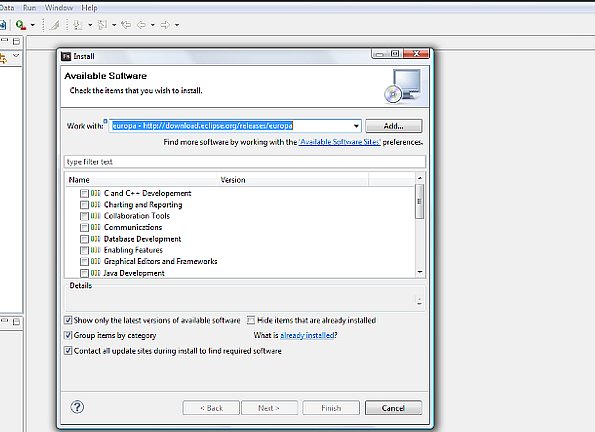
6. In the field below you should see available packages. Goto "Java Development" and expand the node.
7. Select "Eclipse Java Development Tools" and press "Next"
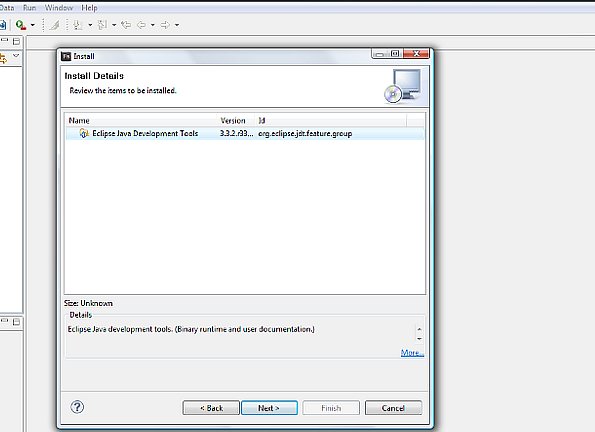
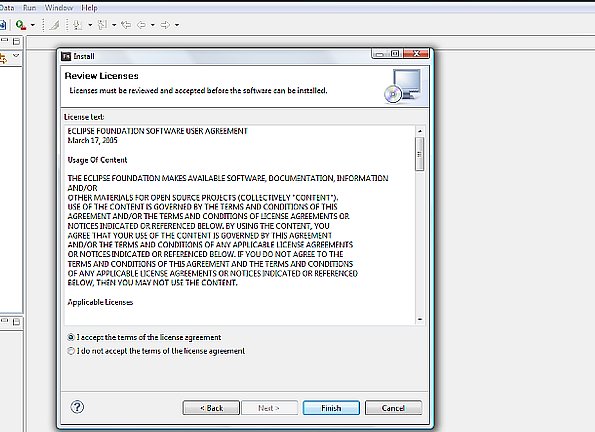
8. Once more select "Next", agree to license and press "Finish".
9. Now, the download and Instalation process should start.
10. After Installation, restart IDE and follow these steps to set up "JRE" memory in Flash Builder to avoid "heap space" errors:
http://ntt.cc/2008/08/06/set-the-ant-opt-for-flex-ant-tasks-to-avoid-the-error-out-of-memory-threw-by-flex-builder-when-building-a-huge-project.html
Now you are ready to use Ant :)
Read next: Using Ant in Flash Builder 4